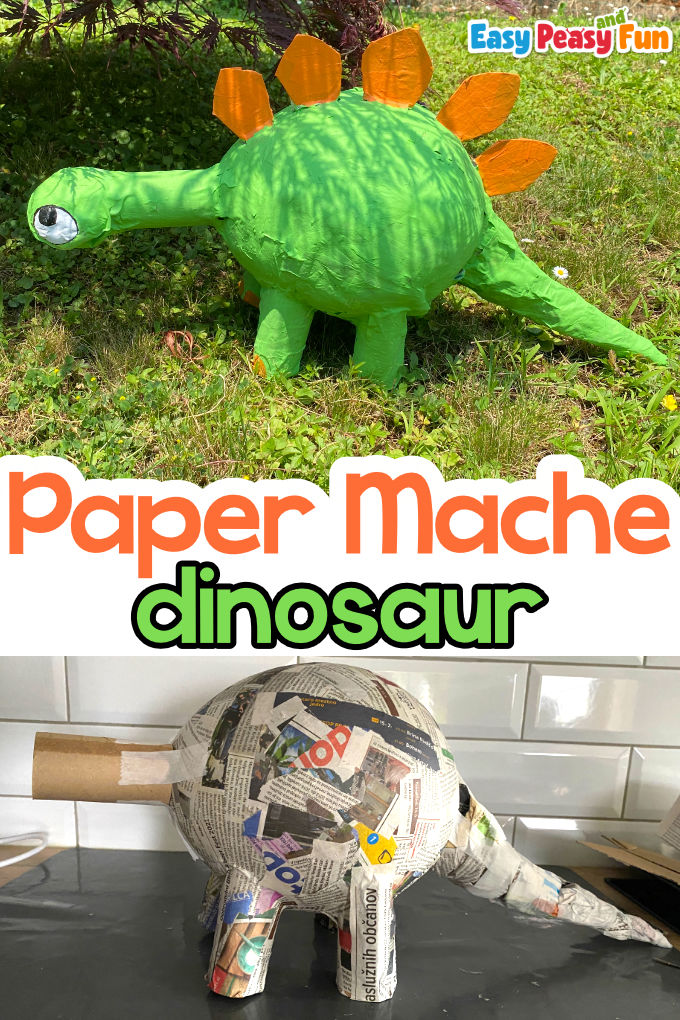
Want to show your kids how to make a paper mache dinosaur? With a little planning, this is an easy dinosaur art project to make with kids.
We will be showing you a step by step tutorial on how to make a paper mache stegosaurus, but you can go with any other dino. Ready to enter the world of papier-mâché? Let’s go!
*this post contains affiliate links*
Who doesn’t love dinosaurs? We sure do!
Be sure to check these dinosaur coloring pages – your kids can first color them and once done and forgotten, they can be used as a material for making paper mache sculptures.
How to Make Paper Mache Dinosaur (Stegosaur)
What you need:
- paper mache glue (we have collected the best paper mache glue recipes)
- newspaper or other old papers
- cardboard
- tape (masking tape, duct tape, sellotape – anything goes)
- scissors
- paints and paintbrushes
- toilet paper rolls (5 pieces)
- balloons (one large balloon and one water balloon)
Step by Step Tutorial
If not using store-bought, the first thing to do is to make paper mache glue.

Plan the dinosaur’s body shape
Have the kids think about what type of dinosaur they want to make and think about the materials that will help them achieve the desired shape.

For any type of paper mache dinosaur, a large balloon is a great starting point for making a body. Four-legged dinosaurs like stegosaurus, triceratops, or diplodocus are easier to make as the four legs will support them, while T-rex is a little bit trickier and you will also need to consider weighing down its legs (glue some pebbles in for example) to have the dino keep its balance on two feet.
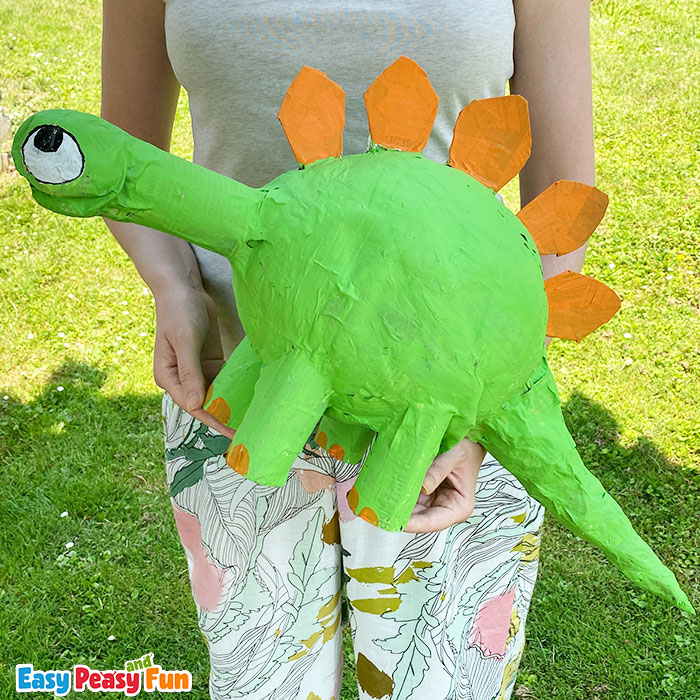
For our stegosaurus, we will be using one large balloon for the body, and four toilet paper rolls for legs to start things off.

You can cut the shaper rolls to make them fit more closely to the balloon, but this isn’t a necessary step.
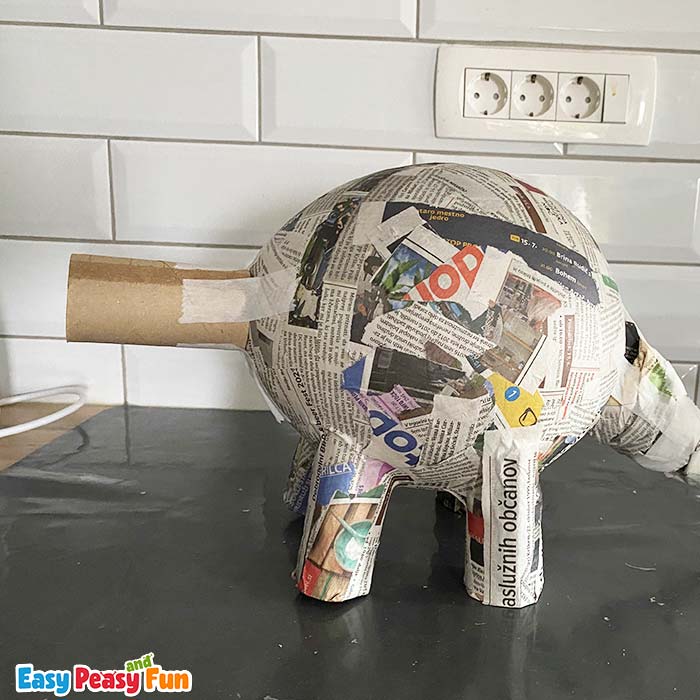
Make the body shape

Secure the legs to the balloon using tape – you don’t need to make it super secure as you will secure them with newspaper strips dipped in paper mache.
If you are making this project with younger kids, it’s best to go a little bit wild with taping the legs to the body as it will make it easier for them.
Add the first layer of paper

Start adding the first layer of paper. For this project, it’s best to start with longer strips of paper dipped in paper mache glue and apply it in a way that one strip of paper covers both the leg and the ballon. This way, once the glue dries, the leg will be attached to the body.

Slowly work your way around the dinosaur.
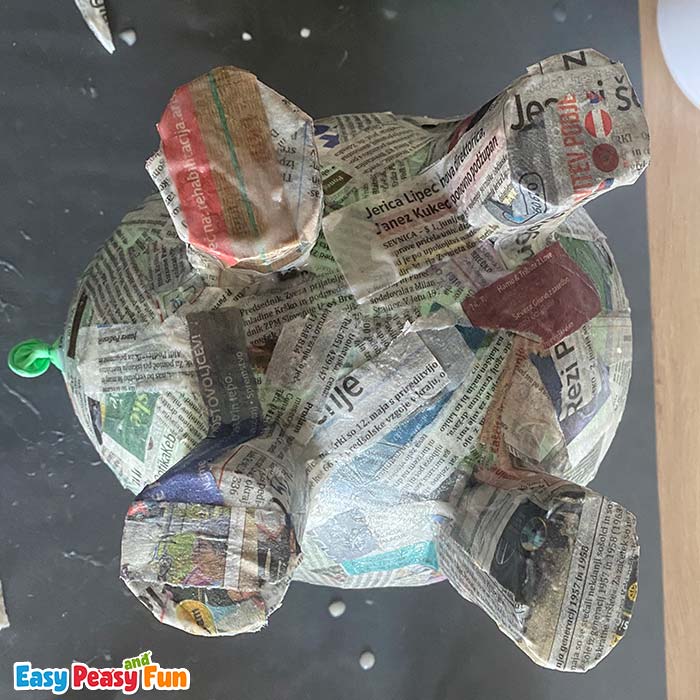
Flip the dinosaur
Allow the glue to dry a little, it doesn’t have to be completely dry, and flip the dinosaur. You can use a bowl as a stand to keep the dinosaur from wobbling left and right.

Work on covering the belly as well as finishing up the legs. It’s best to use a combination of longer paper strips as well as small torn pieces of newspaper.
Slowly work on each leg.
Once done you can let your first layer dry.
Making the plates and tail
While the body dries, make the plates for your stegosaur and tail.
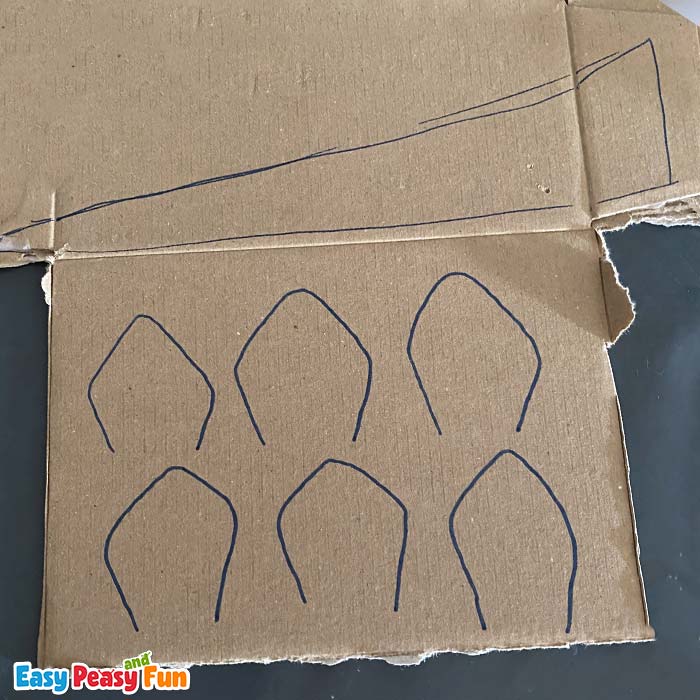
Take a piece of old cardboard and draw outlines for the tail and the plates.
Cut them all out. The plates will be good as they are but the tail will need some extra work.
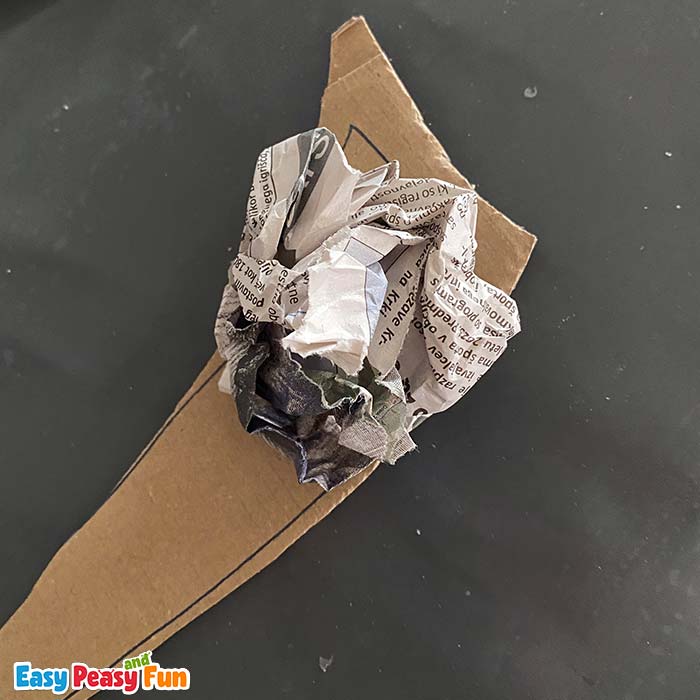
Take a sheet of paper (newspaper, flyers…) and crumple it into a ball. Measure it next to the tail and press it to shape it to fit the tail.
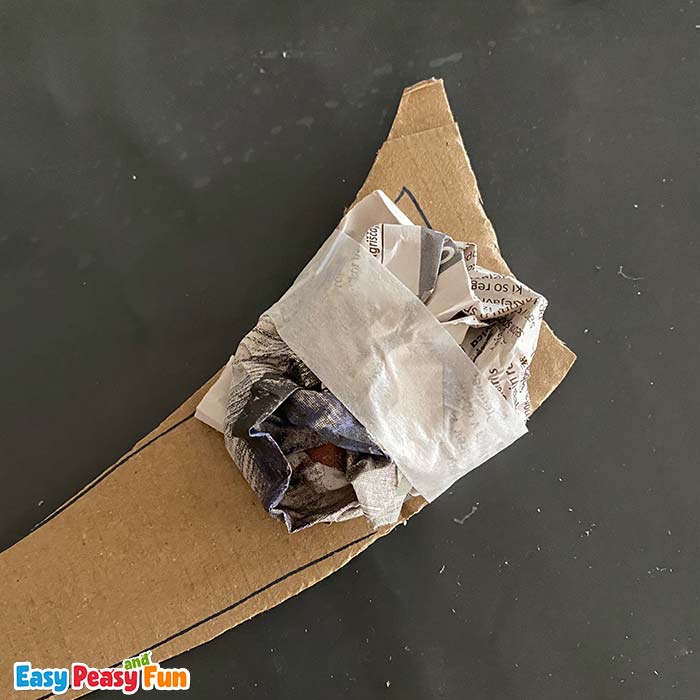
Secure it with tape. Rinse and repeat (on both sides of the cardboard tail) until you are happy with your dinosaur tail shape.

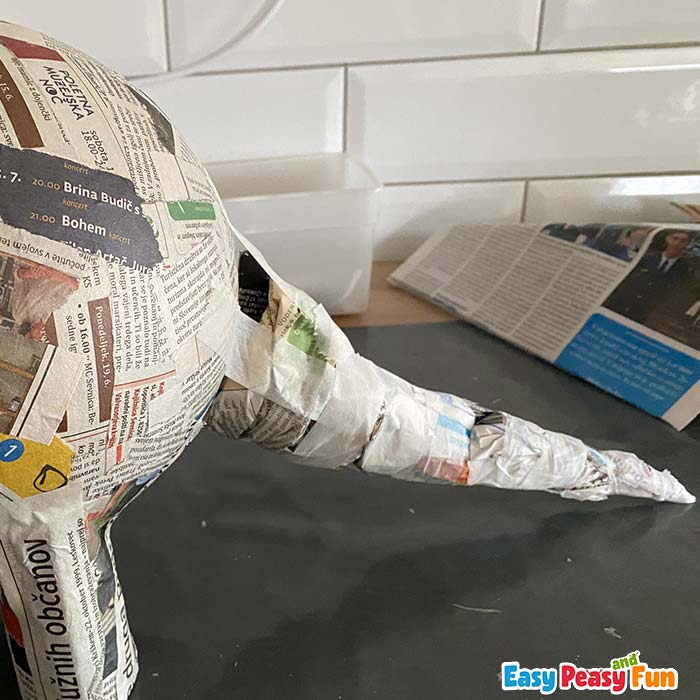
Tape the tail to the body just like you did with the legs.
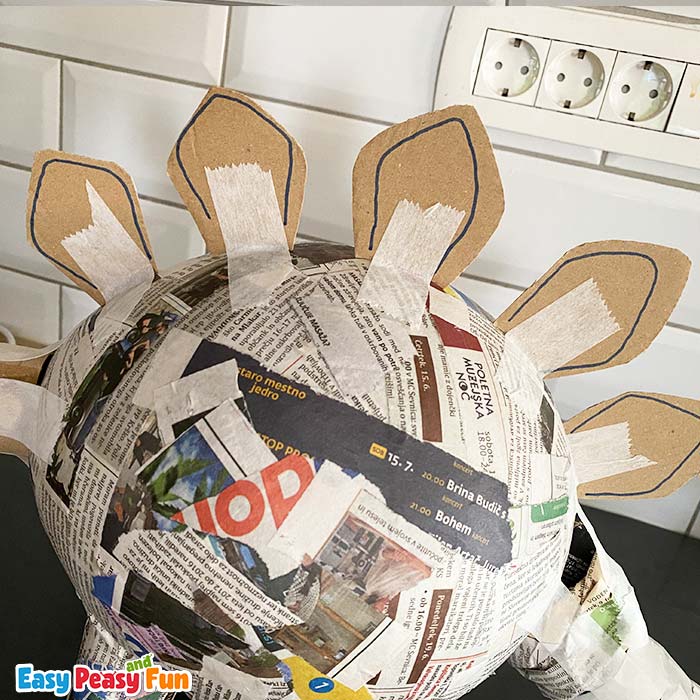
Neck and head (and plates)
The first layer of paper mache should be dry before moving to this step, it doesn’t have to be 100% dry, but close to it.
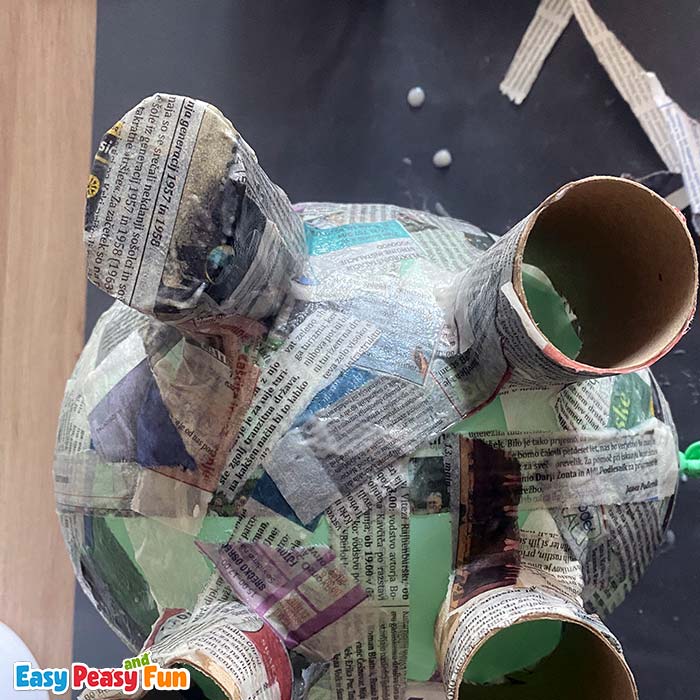
Tape one toilet paper roll on the body of the dinosaur to make the neck.
Tape a small water-balloon to the end of the toilet paper roll to make the head.
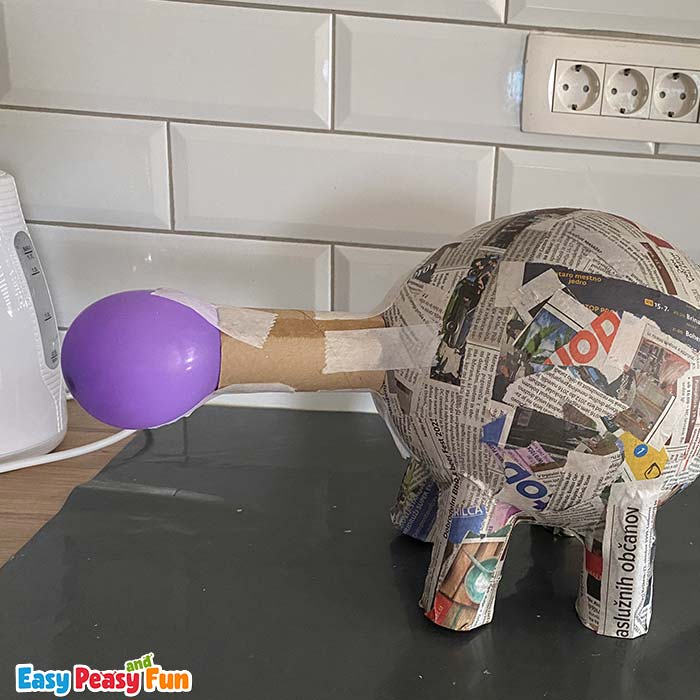
This part might be a little tricky for younger kids so they might need assistance.
Tape each of the plates to the dinosaur’s back (you can also do next and tail but we recommend you do another layer of paper mache dipped newspaper first).
A new layer of paper or two
Start adding another layer of paper, focusing on plates, neck, head as well as tail. Smaller pieces of newspaper will work best when working around plates.
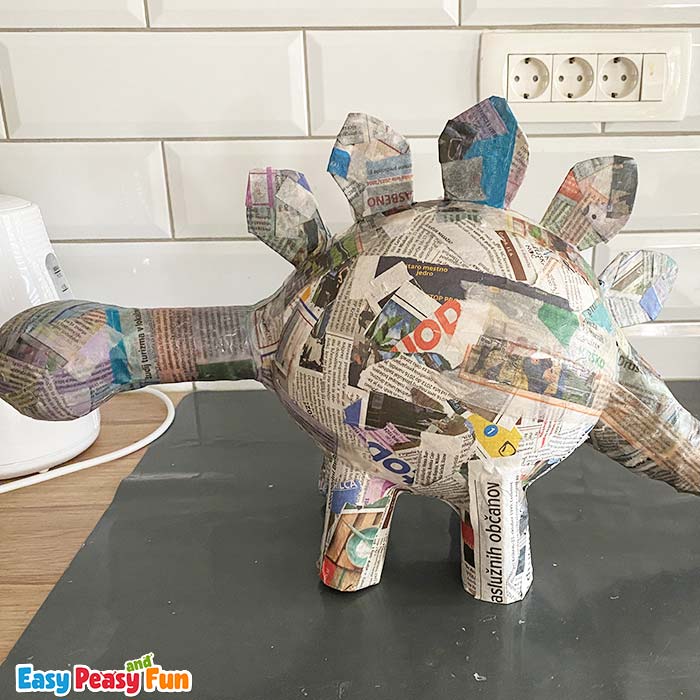
Once the layer dries, add another (and another depending on the paper you are using).
Note: if you are unlucky as we were, the balloon might pop, so it’s best to not wait too long between adding new layers. However, accidents can sometimes be a good thing – when we were making this dinosaur, the water balloon popped after the first layer was added and it made a great-looking shape for the dinosaur’s mouth.
Drying and coloring
Once you have all your layers, let the paper mache dinosaur dry off completely. With this last step, it is super important for the glue to really dry so it’s best to leave it dry for a day or two.
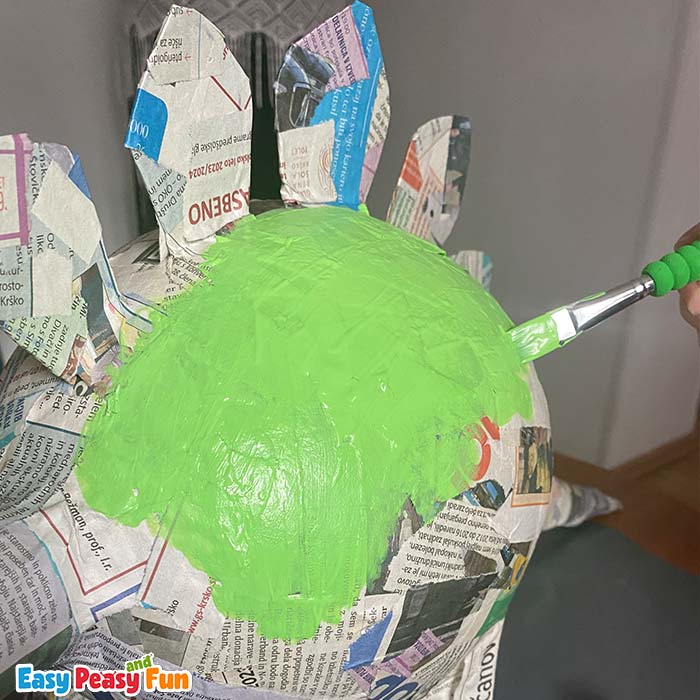
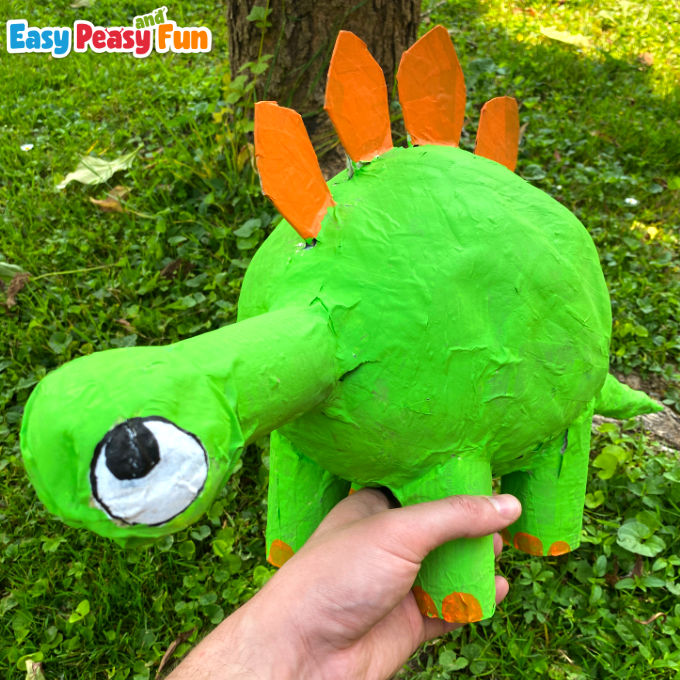
Acrylic paints are great as they will add some waterproofness to your kid’s creations but other paints are great for this project as well.

Take your time painting the dinosaur. Make one coat of paint or more. One coat will usually let some of the newspaper be seen through, which can add extra charm to your paper mache dinosaur.
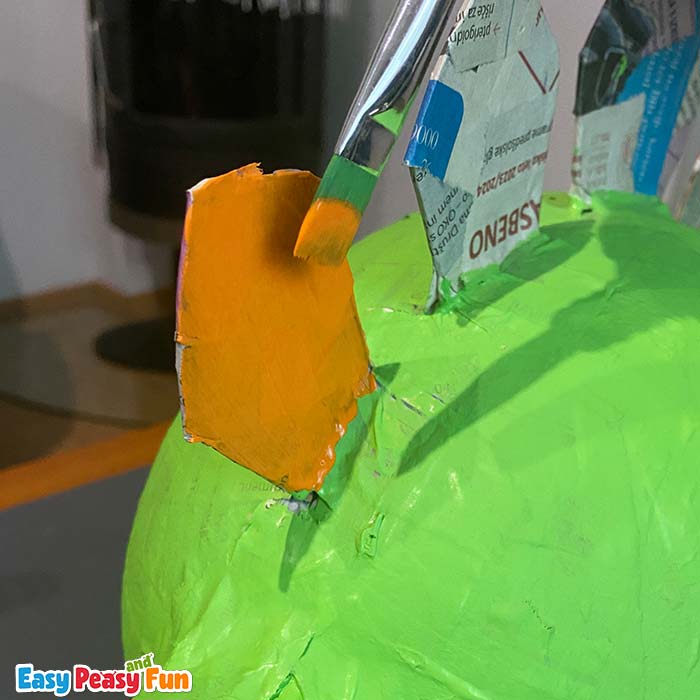
While the plates are fairly secure at this stage, it’s best to be a little bit cautious when painting them.
Paint on the eyes. Make a white circle, and let it dry. Add other details (you can use acrylic paint markers which are great for drawing on finer details).

Also, paint on some toes on the feet of your paper mache dinosaur.
Want instant access to all of our printable crafts, activities, and resources?

With thousands of crafts, activities, worksheets, coloring pages, and drawing tutorials to print, you will always have just the resource you need at your disposal. Perfect for parents and teachers alike!